
The best bookshelf styling ideas don’t start with shopping. They start with an empty shelf. Most bookcases look cluttered for one simple reason: everything went back on in the same order it came off, with a few new objects squeezed into whatever gaps were left. This guide takes a different approach. You’ll get the exact order to work in, three grouping rules that do most of the heavy lifting, a $0 first pass using things you already own, and the safety basics nobody mentions until a shelf bows or a bookcase tips. Follow it step by step and the most ignored piece of furniture in your home becomes the one guests ask about.
Read More: 12 Cosy Reading Nook Ideas for Small Apartments
Start Empty: The Step Everyone Skips
Styling a full shelf is like organizing a closet while you’re still wearing everything in it. Take every single thing off the bookcase. All of it. Dust the shelves, then sort the books into three piles: keep, donate, relocate. Be honest about the textbooks from 2014 and the novels you’ll never reread. Most people remove a quarter of what was there, and the shelf instantly looks better before a single object goes back.
This is also when you check the bones. Tighten any wobbly screws, and look down the length of each shelf for bowing. A shelf that’s already sagging under paperbacks will only get worse once you style it, so move the heaviest books to the bottom shelf now. Heavy low, light high. It looks settled, it protects the spans most likely to bow, and it lowers the bookcase’s center of gravity, which matters more than you’d think.
Style One Shelf, Then Copy It
Don’t try to compose the whole bookcase at once. That’s how you end up rearranging for three hours and hating the result. Pick the shelf at eye level, style it completely using the rules below, and step back. If that one shelf looks good, you’ve found your formula. Copy its rhythm down the rest of the unit, changing the objects but keeping the pattern. One solved shelf beats five half-finished ones every time.
The Only Three Rules You Need
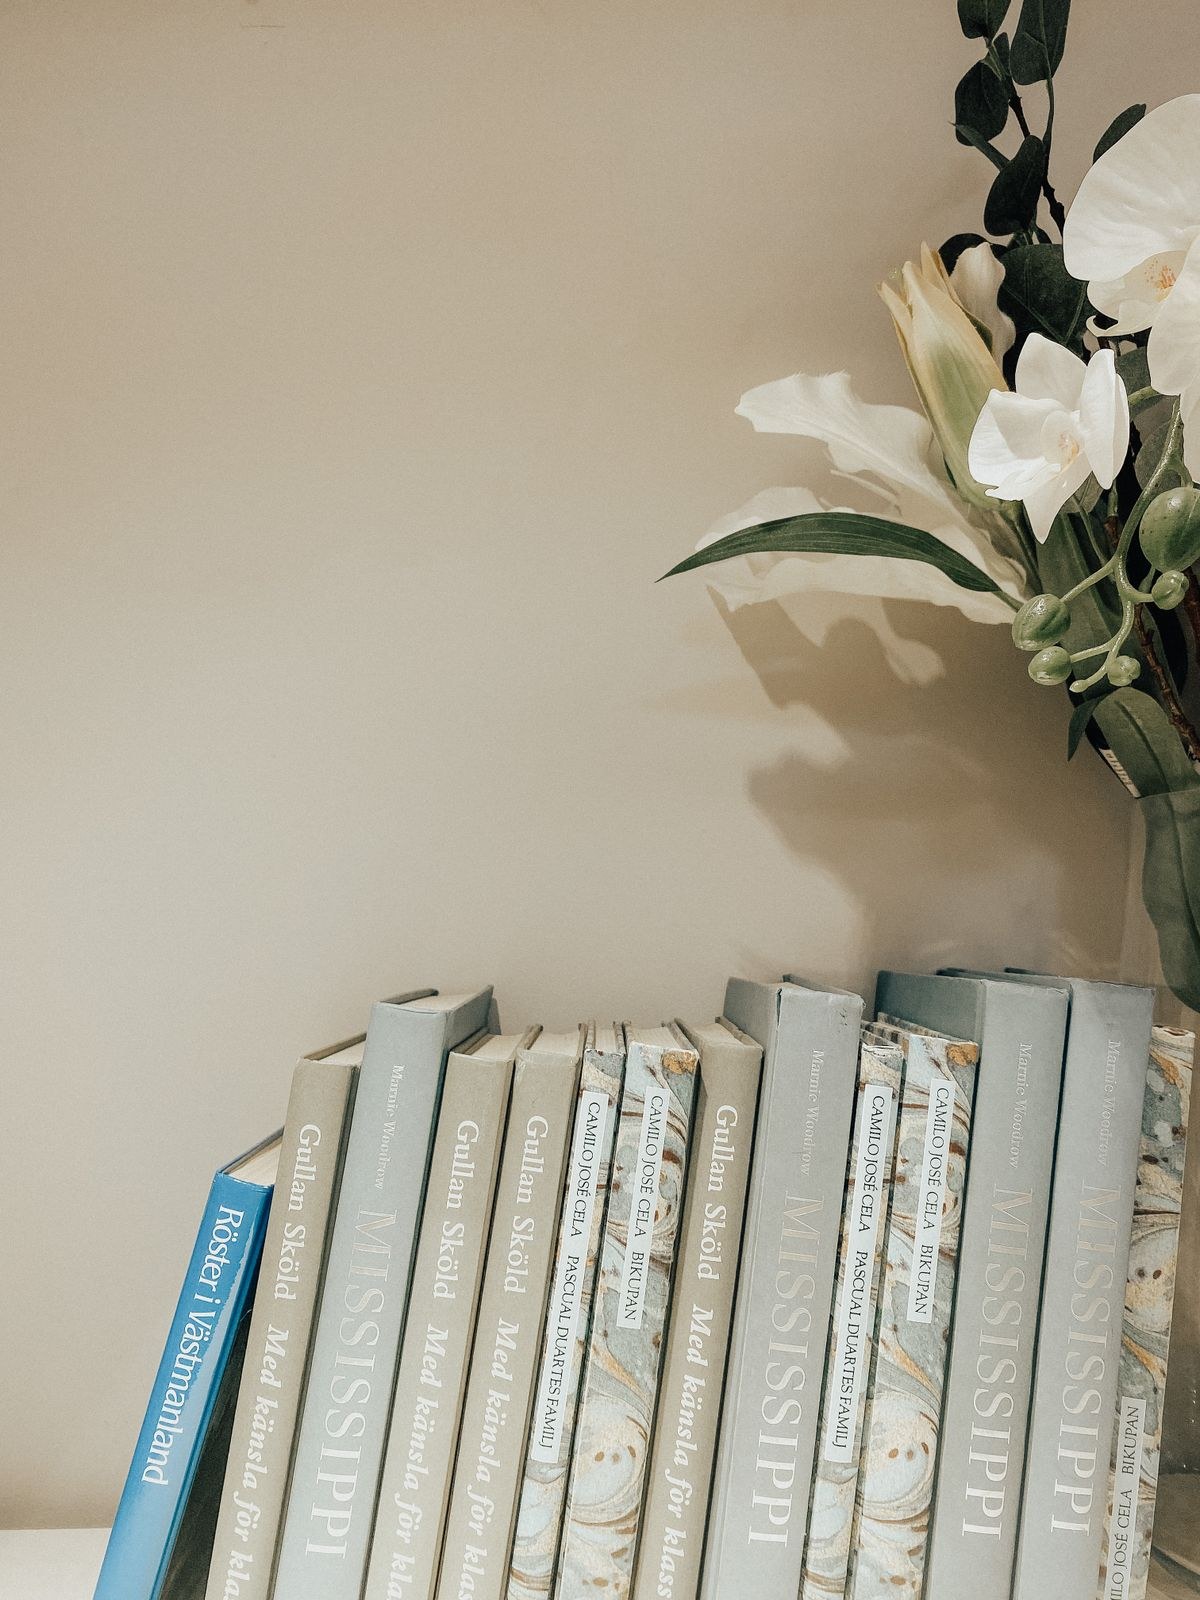
Forget the twenty-point checklists. Nearly every well-styled shelf you’ve admired runs on three rules. First, group objects in twos and threes, never in an even row. Objects spaced one-gap-one-gap read as a display case. Push the same pieces into small odd-numbered clusters and they read as a composition. Nothing changed except adjacency.
Second, vary the height inside every group: tall, medium, short. Three objects at the same height sitting together is the most common miss, and it’s why many styled shelves look oddly flat. A tall vase, a medium stack of books, a small bowl. That’s a group.
Third, mix vertical runs with flat stacks. Stand books upright in runs of three to five, then break them up with a flat stack of two or three books with exactly one object on top. That single object matters. A flat stack with nothing on it looks like books someone meant to shelve later. Alternate the two arrangements down the shelf and you get rhythm without thinking about it.
Shop Your House Before You Shop the Store
Here’s the part the decor industry skips: you probably own everything you need. Grab an empty box and walk every room. Look for a bowl you never use, a framed photo from a crowded wall, a vase hiding in a cabinet, a basket from the closet. Anything sculptural with a bit of height. Put it all on the dining table, then style from that pile.
This $0 pass matters most if you rent, because you can’t change the walls, so the objects become the color and texture you control. Small footprint wins here. The useful pieces fit in the gap a single removed book leaves: a short vase, a pair of candlesticks, a small plant. Anything wider than about six inches starts competing with the books, and the books usually win. Most people finish this pass and realize the shopping list they were about to write is unnecessary.
Simple idea: style the eye-level shelf last, not first. Your eyes keep returning to it while you work on the others, so it becomes the reference the whole bookcase gets judged against. Build the shelves above and below, then compose the middle one to tie them together.
Give the Back Panel a Job
The fastest transformation per dollar is the part you never touch: the back panel. A coat of paint, a strip of peel-and-stick wallpaper, or even fabric pinned up behind the shelves adds depth and makes everything in front of it pop. Deep green, warm navy, or a subtle pattern all work. The books provide the texture; the backing provides the stage.
Renters, this one’s for you especially. Peel-and-stick wallpaper removes cleanly, and it turns a flat-pack bookcase from generic to custom for about $25. If even that’s too much commitment, try leaning a large piece of art against the back panel on one shelf. It draws the eye backward and makes the whole shelf read deeper, no adhesive required.
Keep It Standing: Weight, Sag, and Anchors
Two safety notes, because styled shelves are still furniture. First, the sag check. Hold a ruler or a hardcover spine along a shelf’s front edge and sight down it. If you see daylight in the middle, that shelf is carrying more than its span was built for. The fixes are simple: move the heaviest quarter of that row to a lower shelf, add a center support, or accept fewer books per shelf. Flipping the board over doesn’t count. It’ll bow again.
Second, anchor the bookcase. Tip-over injuries are real, and bookcases are specifically named in furniture safety guidance. If you rent and can’t drill, no-drill adhesive anchor kits exist and do the job. Keep the heaviest books on the bottom shelf regardless. It looks better and it’s structurally smarter. A styled bookcase can even anchor the dead end of a hallway and turn it into a library wall. If yours lives there, the same rules apply, just with a narrower stage. See Tiny Hallway, Big Style: 9 Decor Ideas for Small Spaces for making that corridor earn its keep.
Count the Cost
Here’s what the whole project costs if you buy smart, after the $0 house-shop pass:
- Peel-and-stick wallpaper for the back panel: $25
- Two or three small baskets or lidded boxes for the bottom shelf: $30
- No-drill anti-tip anchor kit: $15
- One trailing plant, real or faux: $20
Total: roughly $90, or $0 if your house-shop pass covered it. Either way it’s less than one new decor object from a home store, and the result looks like you hired someone.
Conclusion
Styled bookshelves don’t come from more objects. They come from better decisions in the right order. Empty it fully, style one shelf and copy the formula, shop your own house first, give the back panel a job, and keep the whole thing standing safely.
Do it in that sequence and the bookcase stops being the cluttered background of the room. It becomes the reason people walk over for a closer look.

6 Comments
Pingback: How to Lay Out a Studio Apartment That Feels Twice as Big - homenest decor
Pingback: 15 Pantry Organization Ideas for Small Kitchens
Pingback: How Do You Make an Accent Wall Without Paint?
Pingback: 9 Ways to Hide Cords in Your Living Room
Pingback: How to Mix Wood Tones Without Clashing: 5 Pairing Rules
Pingback: Home Decor Basics: 9 Rules Every Room Follows