

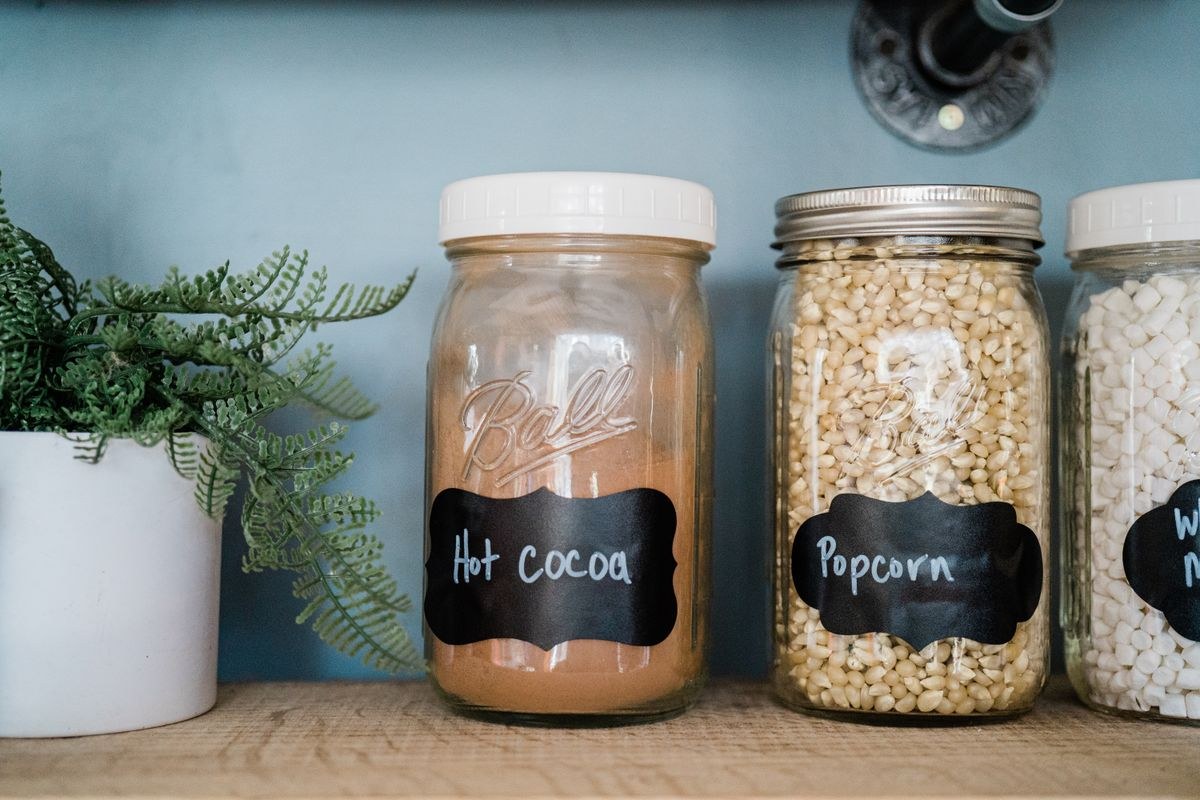
The best pantry organization ideas for small kitchens have nothing to do with matching containers. They start with a tape measure and a trash bag. Most pantries fail the same way: organizers bought before anyone measured a shelf, food decanted into jars nobody refills, and a system that collapses the first time someone shops hungry. This guide does it differently. You’ll get the order to work in, a clear rule for what deserves a container and what doesn’t, the forgotten spaces worth stealing, and a shopping list ranked by impact so you buy the right things first. Fifteen ideas, one realistic budget, and a pantry that stays organized past January.
Read More: Cozy Coffee Bar Ideas for Small Kitchens
Measure First, Shop Second
The most expensive pantry mistake is buying organizers before measuring. Beautiful containers that don’t fit are just clutter with a receipt. Grab a tape measure and write down the width, depth, and height of every shelf, including the clearance under each one. Take a photo of the empty shelves too. You’ll thank yourself in the store aisle.
Then empty everything. Check dates as you go and be ruthless: the expired baking powder, the three half-used bags of the same rice, the sauce packets from 2023. Most people toss or donate a full bag of stuff, and the pantry feels twice as big before a single organizer enters it. Wipe the shelves while they’re bare. This prep takes an hour and makes every idea below work twice as well.
The Decant-or-Don’t Rule
Not everything deserves a container, and decanting everything is how pantries become a second job. Use this rule instead. Decant the staples you buy repeatedly and use weekly: flour, sugar, rice, pasta, oats, cereal. These earn containers because you see levels at a glance and stop buying duplicates. Everything else stays in its packaging: snack packets, sauce mixes, anything you buy once and finish. A basket corrals those just fine.
When you do decant, square beats round. Square and rectangular containers sit flush with no dead gaps, and they stack. Clear beats opaque for anything you need to monitor. And never buy the full matching set on day one. Start with the five staples you actually use, live with them for two weeks, then fill in the gaps. Your pantry will tell you what it needs.
What never earns a container: cooking oils and vinegars (their bottles pour better), anything you buy in bulk bags and portion out rarely, and seasonal baking supplies that sit untouched for months. Those go in the backstock zone in their original packaging. Decanting is a maintenance habit, not a one-time project, so only commit to the items you’ll happily refill.
Zone It Like a Store
Stores group by use, not by alphabet, and your pantry should too. Give every category its own zone: breakfast (cereal, oats, coffee, tea), baking (flour, sugar, chocolate chips), dinner builders (pasta, rice, canned tomatoes, broth), snacks, and backstock. Daily items live at eye level. Backstock lives high or low, refilling the daily containers when they run low.
The snack zone deserves special attention in a shared household. One basket per kid, or one “grab” basket for the whole family, stops snacks from colonizing every shelf. Label the zones, even if it’s just painter’s tape and a marker. Labels aren’t decoration. They’re the reason everyone else in the house can put things back where they belong.
Simple idea: put a small bin labeled “use first” at eye level. Anything close to expiring, half-used, or bought on impulse goes there. It cuts food waste more than any container ever will, and it costs nothing.
Steal the Forgotten Spaces
Small pantries aren’t short on space. They’re short on used space. The inside of the door holds spice racks, wrap organizers, or a slim over-the-door unit, and it costs you zero shelf inches. Deep shelves stop swallowing food once you add pull-out bins or a turntable. Under-shelf baskets hang from existing shelves and create a second layer for packets and wraps. The wall beside the pantry can hold a pegboard for measuring cups and aprons. And don’t ignore the top shelf just because it needs a step stool. That’s prime real estate for backstock and rarely used appliances, freeing the reachable shelves for daily cooking.
No pantry at all? A spare bookcase becomes pantry shelving, and styled right it looks intentional rather than improvised. The same grouping rules apply, just with food instead of novels. See Bookshelf Styling Ideas That Make Any Room Look Designed for making open shelving look like a choice, not a compromise.
Buy in This Order
If your budget is tight, buy in this sequence and stop when the money runs out. Each tier earns its place before the next one matters. One, a label maker or just a marker and tape. Labels are the cheapest organization tool ever invented. Two, two or three baskets for snacks and packets. Three, clear containers for your five most-used staples. Four, one turntable for deep shelves or oils. Five, shelf risers to double your can storage. Six, the over-the-door organizer.
Notice what’s last on the list: the specialty stuff. Most pantries get organized in reverse, with the fancy gadgets arriving before the basics exist. Buy the boring things first. They do the real work.
And here’s what to skip entirely: single-purpose gadgets like banana hangers for the pantry, tiny tiered spice racks that hold six jars, and decorative canisters with no seal. If it doesn’t hold food fresher or make it easier to reach, it’s decor, not organization. Your pantry has a job. Let it do it.
Count the Cost
Here’s the full project budget if you shop smart, in buy order:
- Marker and tape for labels: $5
- Three baskets for snacks and packets: $18
- Five clear airtight containers for staples: $30
- One turntable for deep shelves: $15
- Two shelf risers for cans: $20
- Over-the-door organizer: $25
Total: roughly $113 for the full setup, or about $53 if you stop after tier three, which honestly covers most pantries. Dollar stores carry perfectly good baskets and turntables if you want to push it lower.
Keep It That Way
Organization without maintenance is just a photo. The system that actually survives is boring: a two-minute reset when groceries come home. New items go behind old ones. Anything that doesn’t have a zone gets a zone or gets donated. The “use first” bin gets checked before the shopping list gets written.
And run the one-in-one-out rule on gadgets. Every new organizer that enters means one leaves. Pantries don’t get messy because people are lazy. They get messy because the system never had a closing ritual. Give it one and it’ll hold for years.
Conclusion
Small pantries don’t need more containers. They need better decisions in the right order. Measure before you shop, decant only what earns it, zone by use, steal the forgotten spaces, buy in impact order, and close the loop with a grocery-day reset.
Do it in that sequence and the pantry stops being the cabinet you avoid opening. It becomes the quiet machine that makes every meal a little easier.

2 Comments
Pingback: What to Put on Top of Kitchen Cabinets: 10 Styling Ideas
Pingback: Turn a Tiny Linen Closet Into a Storage Powerhouse